Publish to GitLab
GitLab Pages (GitLab.com) provides free, fast hosting for your Silex websites. This guide walks you through connecting GitLab, publishing your first site, and troubleshooting common issues.
GitLab is the default choice for Silex publishing — it handles both storage (Git repository) and hosting (GitLab Pages) in one place. Once connected, publishing is as simple as clicking a button.
Before you start
You'll need a GitLab account. If you don't have one, create it for free at gitlab.com. The free plan includes unlimited public projects and unlimited storage.
Step 1: Connect your GitLab account
In Silex:
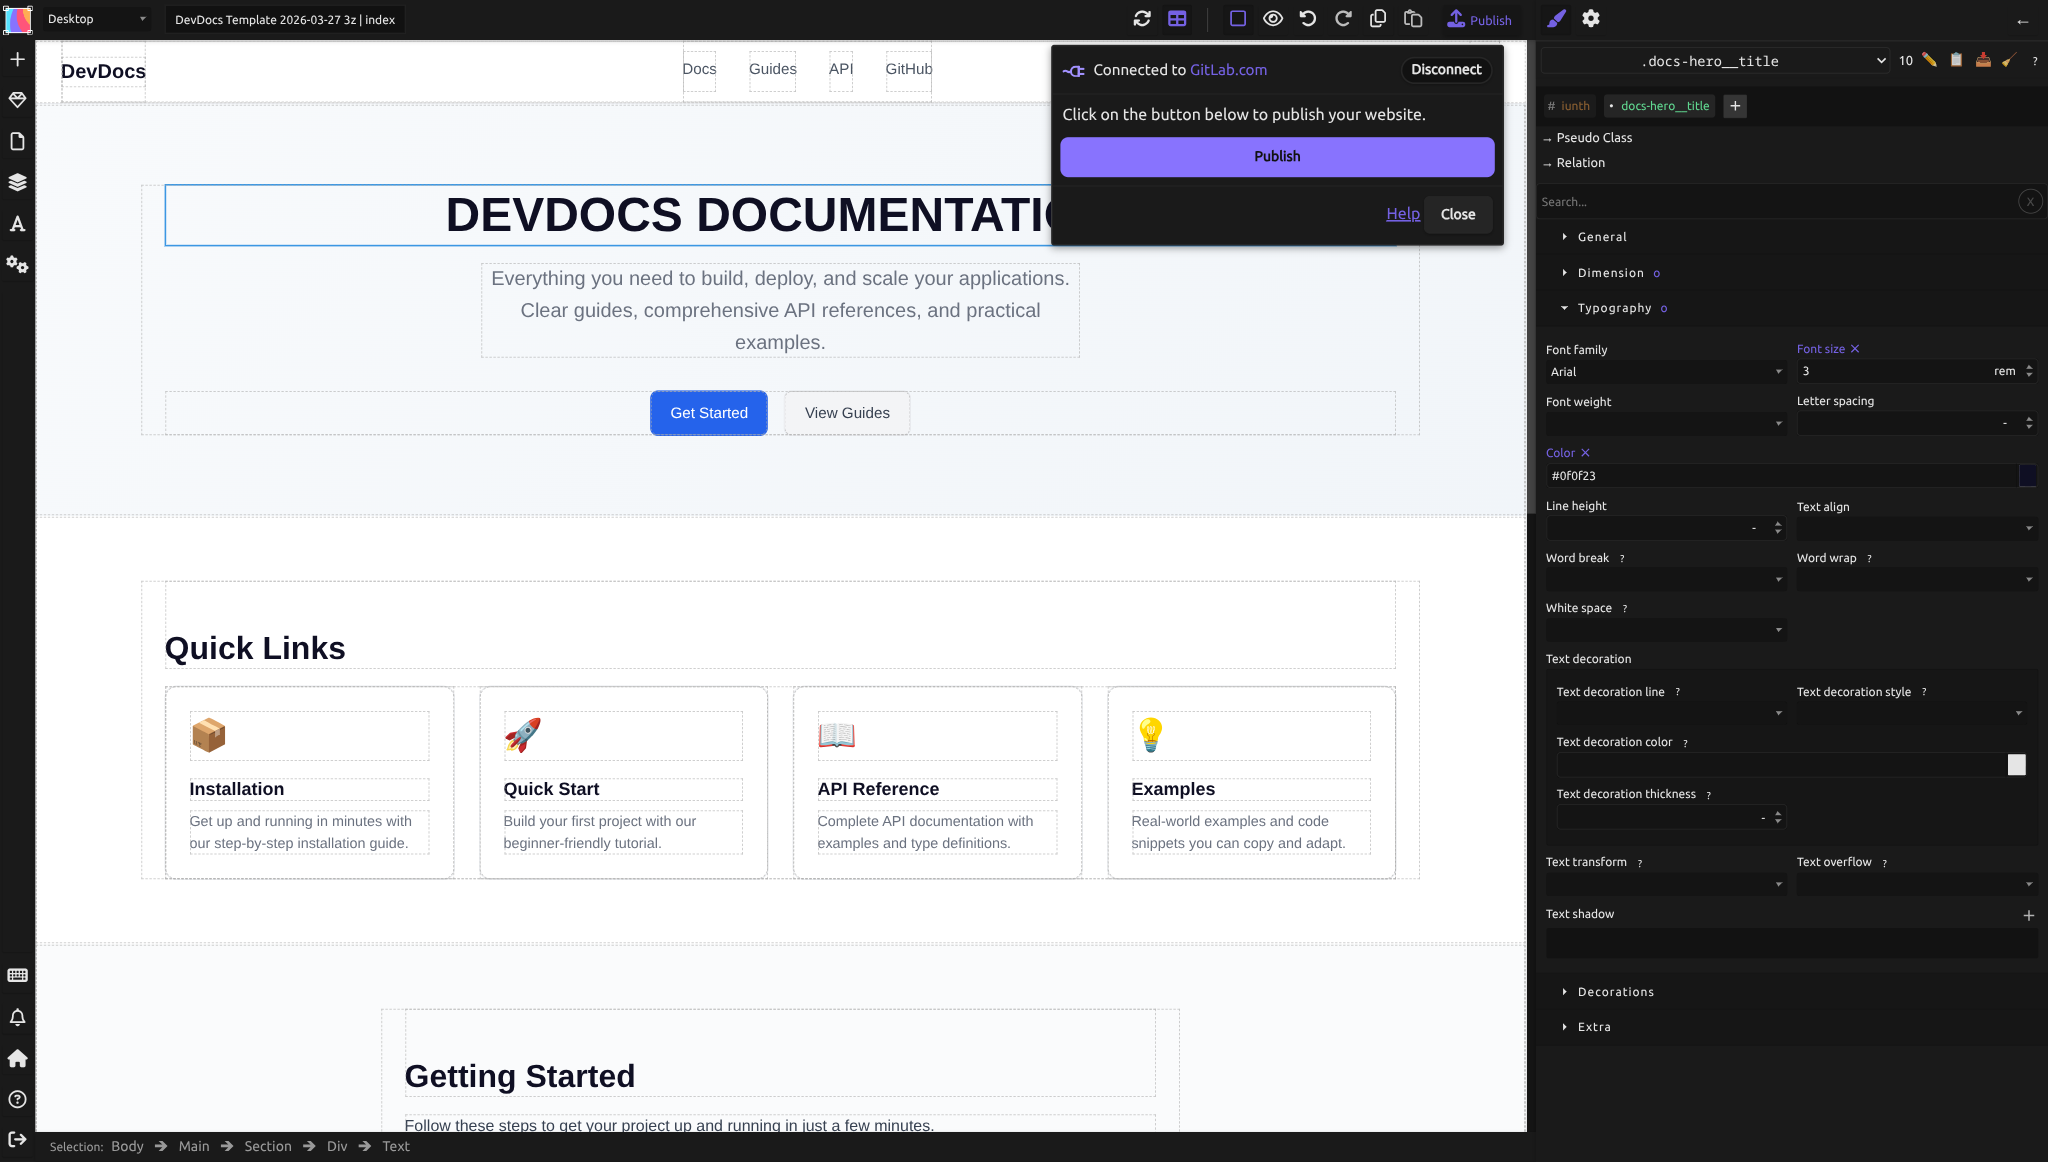
- Click the Publish button in the top toolbar
- The Publish dialog opens. You'll see a list of available hosting services. Find GitLab.com and click it.
 3. A new browser window opens asking you to log in to GitLab (if you're not already logged in)
4. GitLab asks permission to connect to Silex. Read the prompt and click Authorize
5. The browser window closes automatically and you're returned to Silex
6. The Publish dialog now shows your GitLab user name and a green checkmark, indicating you're logged in
3. A new browser window opens asking you to log in to GitLab (if you're not already logged in)
4. GitLab asks permission to connect to Silex. Read the prompt and click Authorize
5. The browser window closes automatically and you're returned to Silex
6. The Publish dialog now shows your GitLab user name and a green checkmark, indicating you're logged in
You're now connected. Silex can store and publish to your GitLab account.
About your credentials: GitLab authentication uses OAuth — Silex never sees or stores your password. If you use FTP storage instead, your credentials are stored in a session cookie valid for one week.
Step 2: Publish your site
In Silex:
- Click Publish again (the same button)
- The Publish dialog shows your connected GitLab account
- Click "publish" again
Silex uploads your site to GitLab and commits it as a Git repository. A message appears saying "Publishing in progress...". This takes 30 seconds to 2 minutes depending on site size.
Step 3: Wait for GitLab CI to build
After publishing, GitLab automatically starts a build job. You'll see a link in the Publish dialog to See the logs.
Click that link to go to your GitLab project page and see the build progress. You'll see a status indicator:
- Blue circle = build running
- Green checkmark = success
- Red X = failed
Most builds complete in less than 1 minute. If the build fails, click the failed job to see the error log and check troubleshooting below.
Step 4: Find your live site URL
Once the build succeeds, your site is live. Silex shows 2 buttons:
- "View your website": This will take you to your live website
Default GitLab Pages URL:
Your site is at https://youruser.gitlab.io/projectname/
For example, if your GitLab username is alice and your project is my-portfolio, the URL is:
https://alice.gitlab.io/my-portfolio/
You can find this URL in GitLab:
- Go to your project page
- Click Deploy → Pages (left sidebar)
- Look for "Access pages at" — that's your live site URL
Step 5 (optional): Set up a custom domain
If you own a domain (e.g., mysite.com), you can point it to your GitLab Pages site instead of using the default youruser.gitlab.io URL. See Custom domain setup for step-by-step instructions.
Troubleshooting
Build fails with "permission denied" or CI/CD error
Cause: GitLab project visibility might be private, or CI/CD is disabled.
Fix: 1. Go to your project on GitLab 2. Click Settings → General 3. Under "Visibility," check that it's set to Public 4. Click Settings → CI/CD 5. Make sure the CI/CD pipeline is Enabled 6. Go back to Silex and click Publish again
Site doesn't appear at the GitLab Pages URL
Cause: Build succeeded but GitLab Pages isn't configured correctly.
Fix: 1. Go to your project on GitLab 2. Click Deploy → Pages (left sidebar) 3. Under "Domains," check that there's a domain listed 4. If nothing appears, the build may have failed — check CI/CD → Pipelines again 5. If the build succeeded but no domain is listed, wait 5 minutes and refresh
New account: pipeline doesn't run
Cause: GitLab requires multiple verification steps before allowing CI/CD pipelines on free accounts. Without all steps completed, your publish will fail silently (no pipeline appears).
Fix — complete all verification steps on GitLab:
- Email verification — Check your inbox for a message from GitLab and click the confirmation link
- Phone verification — Go to gitlab.com/-/profile, look for a phone verification prompt, and verify via SMS
- CI/CD pipeline validation — This is the step most people miss. GitLab requires an additional identity verification to run pipelines on free accounts. Go to your project → Settings → CI/CD → Pipeline validation and follow the instructions. GitLab may ask you to verify a credit card (no charge) or verify your identity.
Once all steps are complete, return to Silex and click Publish again. The pipeline should now appear in CI/CD → Pipelines.
Why so many steps? GitLab added these requirements to prevent abuse of their free CI/CD minutes. It's a one-time setup — once verified, all your future projects work automatically.
Using Framagit? Framagit (a libre GitLab instance by Framasoft) may have different or simpler verification requirements. It's a good alternative if you prefer not to provide a credit card to GitLab.com.
Site files are live but look broken or unstyled
Cause: Relative links or asset paths might be incorrect.
Fix:
1. Open your site in a browser
2. Right-click → Inspect to open developer tools
3. Look at the Network tab — are CSS and image files returning 404 errors?
4. If yes, check that internal links in Silex start with ./ (relative paths)
5. In Silex, verify image and asset paths are correct in the Traits panel
See Pages for more on internal linking.
You want to republish after making changes
Simply click Publish again in Silex. The latest version of your site is committed and rebuilt automatically. No need to create a new project.
You want to update your project description or visibility
Go to your project on GitLab, click Settings → General, and edit the project name or description. Changes there don't affect your Silex editor — you can make changes in either place.
- Still stuck? Open an issue on GitHub with steps to reproduce, or ask in the community chat.
Publishing best practices
Commit messages — When Silex publishes, it creates a Git commit with a message like "Silex site update." You can see these in your GitLab repository under Repository → Commits.
Backups — Your entire website is stored in Git. You can clone it, browse its history, or restore an old version if needed. GitLab keeps commit history for free.
Collaborators — If you want others to help edit your site, invite them to the GitLab project (not Silex). They can then edit the files directly on GitLab if needed, though they won't have the Silex visual editor.
Deployment frequency — Publish as often as you like. There's no limit on how many times you can publish or how many builds you trigger.
Learn more
- How publishing works — understand the full pipeline
- Custom domain — point your own domain to your GitLab Pages site
- Forms — handling form submissions
- GitLab Projects documentation — more about Git projects
- GitLab Pages documentation — detailed hosting options
Quiz
Q1: What is the default URL for your GitLab Pages site?
- A)
https://gitlab.com/youruser/projectname - B)
https://youruser.gitlab.io/projectname/ - C)
https://gitlabpages.io/projectname
Answer
B) https://youruser.gitlab.io/projectname/ — GitLab Pages uses the pattern youruser.gitlab.io/projectname/ for subproject hosting.
Q2: What do you do after you click Publish?
- A) Your site is immediately live
- B) Wait for GitLab CI to finish building, then check the URL
- C) Manually configure GitLab Pages in GitLab settings
Answer
B) Wait for GitLab CI to finish building, then check the URL — After publishing, GitLab automatically runs a build. Check CI/CD → Pipelines to see progress.
Q3: Why might your site not appear at the GitLab Pages URL?
- A) The GitLab build failed
- B) Your project visibility is set to private
- C) Either A or B
Answer
C) Either A or B — Check that the CI/CD build succeeded and that your project is set to public.
Q4: What is a custom domain?
- A) Any URL with "custom" in the name
- B) Your own domain (e.g., mysite.com) pointing to your GitLab Pages site
- C) A free subdomain provided by GitLab
Answer
B) Your own domain (e.g., mysite.com) pointing to your GitLab Pages site — If you own a domain, you can point it to your GitLab Pages site instead of using the default URL.
Q5: Do you need to verify your email address to publish with GitLab?
- A) No, email verification is optional
- B) Yes, new accounts must verify email before CI/CD pipelines can run
- C) Only if you're using a custom domain
Answer
B) Yes, new accounts must verify email before CI/CD pipelines can run — Check your email for a verification link from GitLab. Some new accounts also require phone verification.