Quick start
Create your first Silex website and publish it in 5 minutes using the hosted version at v3.silex.me.
By the end of this tutorial, you'll have a live website with your own content.
What you'll need
- A recent version of Chrome or Firefox (officially supported — see the FAQ for other browsers)
- A gitlab.com or Framagit account, or another GitLab instance if the Silex instance you're using is configured for it. No account yet? You'll create one as part of Step 1 — see Sign up with GitLab if you'd like the full walkthrough first.
- 5 minutes
Step 1: Sign in to Silex
Open https://v3.silex.me in your browser. You'll see two sign-in buttons:
- GitLab.com — the main instance, recommended for most users.
- Framagit — a libre GitLab instance hosted by Framasoft, a French nonprofit. No tracking, no ads, and no SMS verification.
Click the one you want. You'll be redirected to that provider:
- If you already have an account, just authorize Silex.
- If you don't, the same page offers a free signup — create an account, then authorize Silex. Need a hand? See Sign up with GitLab for the step-by-step.
Either way, you end up back in Silex with the dashboard open.
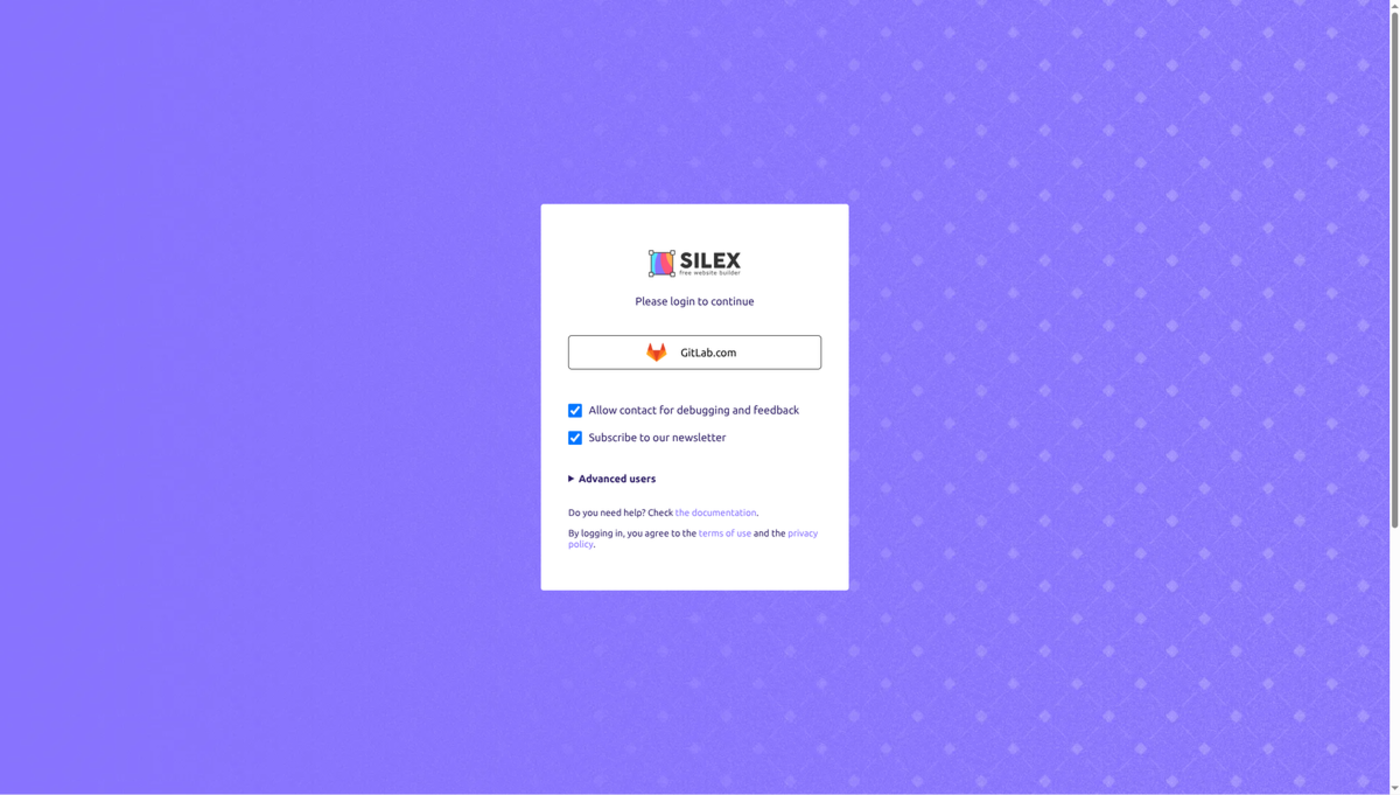
Alternative: FTP storage. If you already have a web hosting provider with FTP access, click Advanced users on the login screen and enter your FTP credentials. Your sites will be stored on your FTP server instead of GitLab. Note: FTP does not provide free hosting like GitLab Pages — you need your own hosting.
Step 2: Create your site
The dashboard shows a welcome message and two options:
- + Create website — start from a blank page.
- From a template — pick a community template as a starting point.
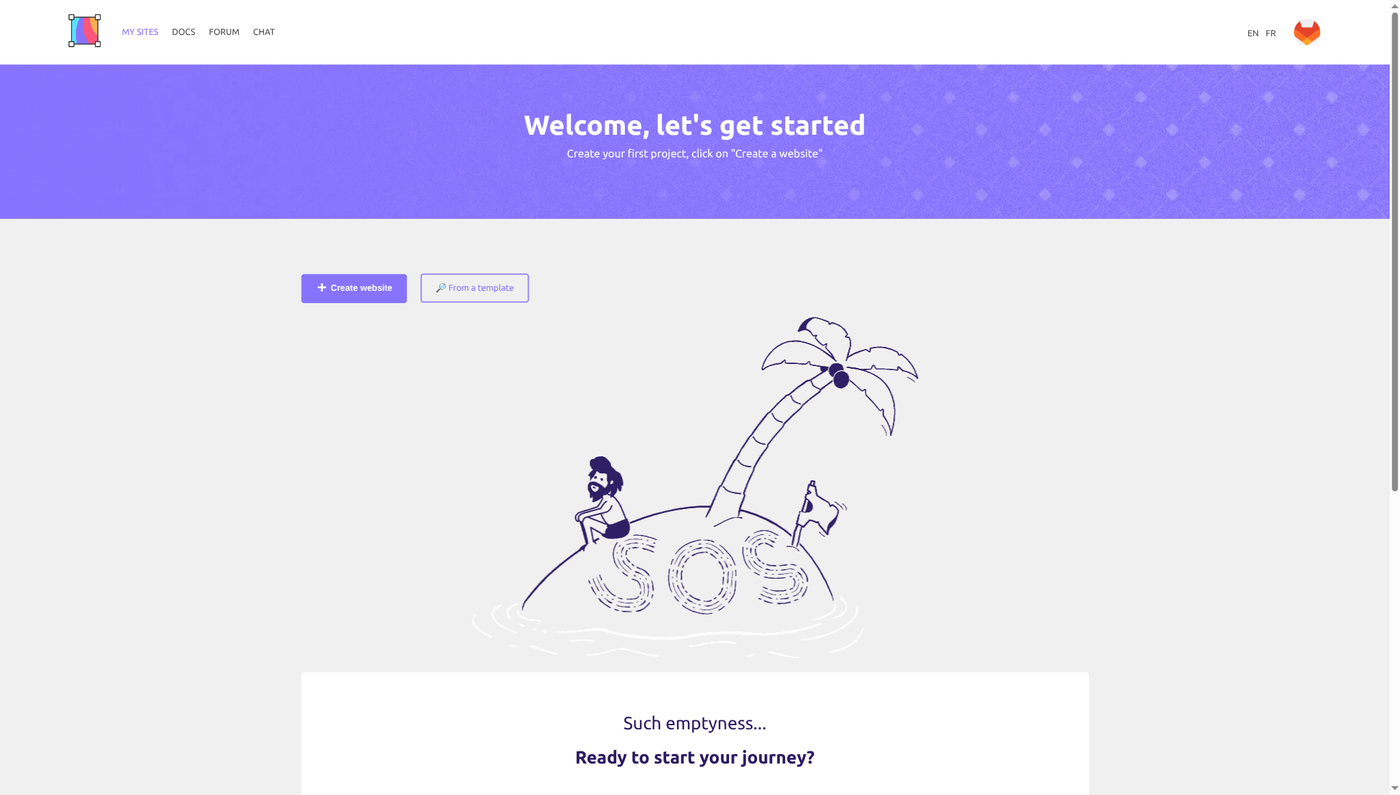
From a blank page: Click + Create website. Silex creates a new GitLab project and opens the editor with an empty canvas.
From a template: Click From a template to browse the community templates page.
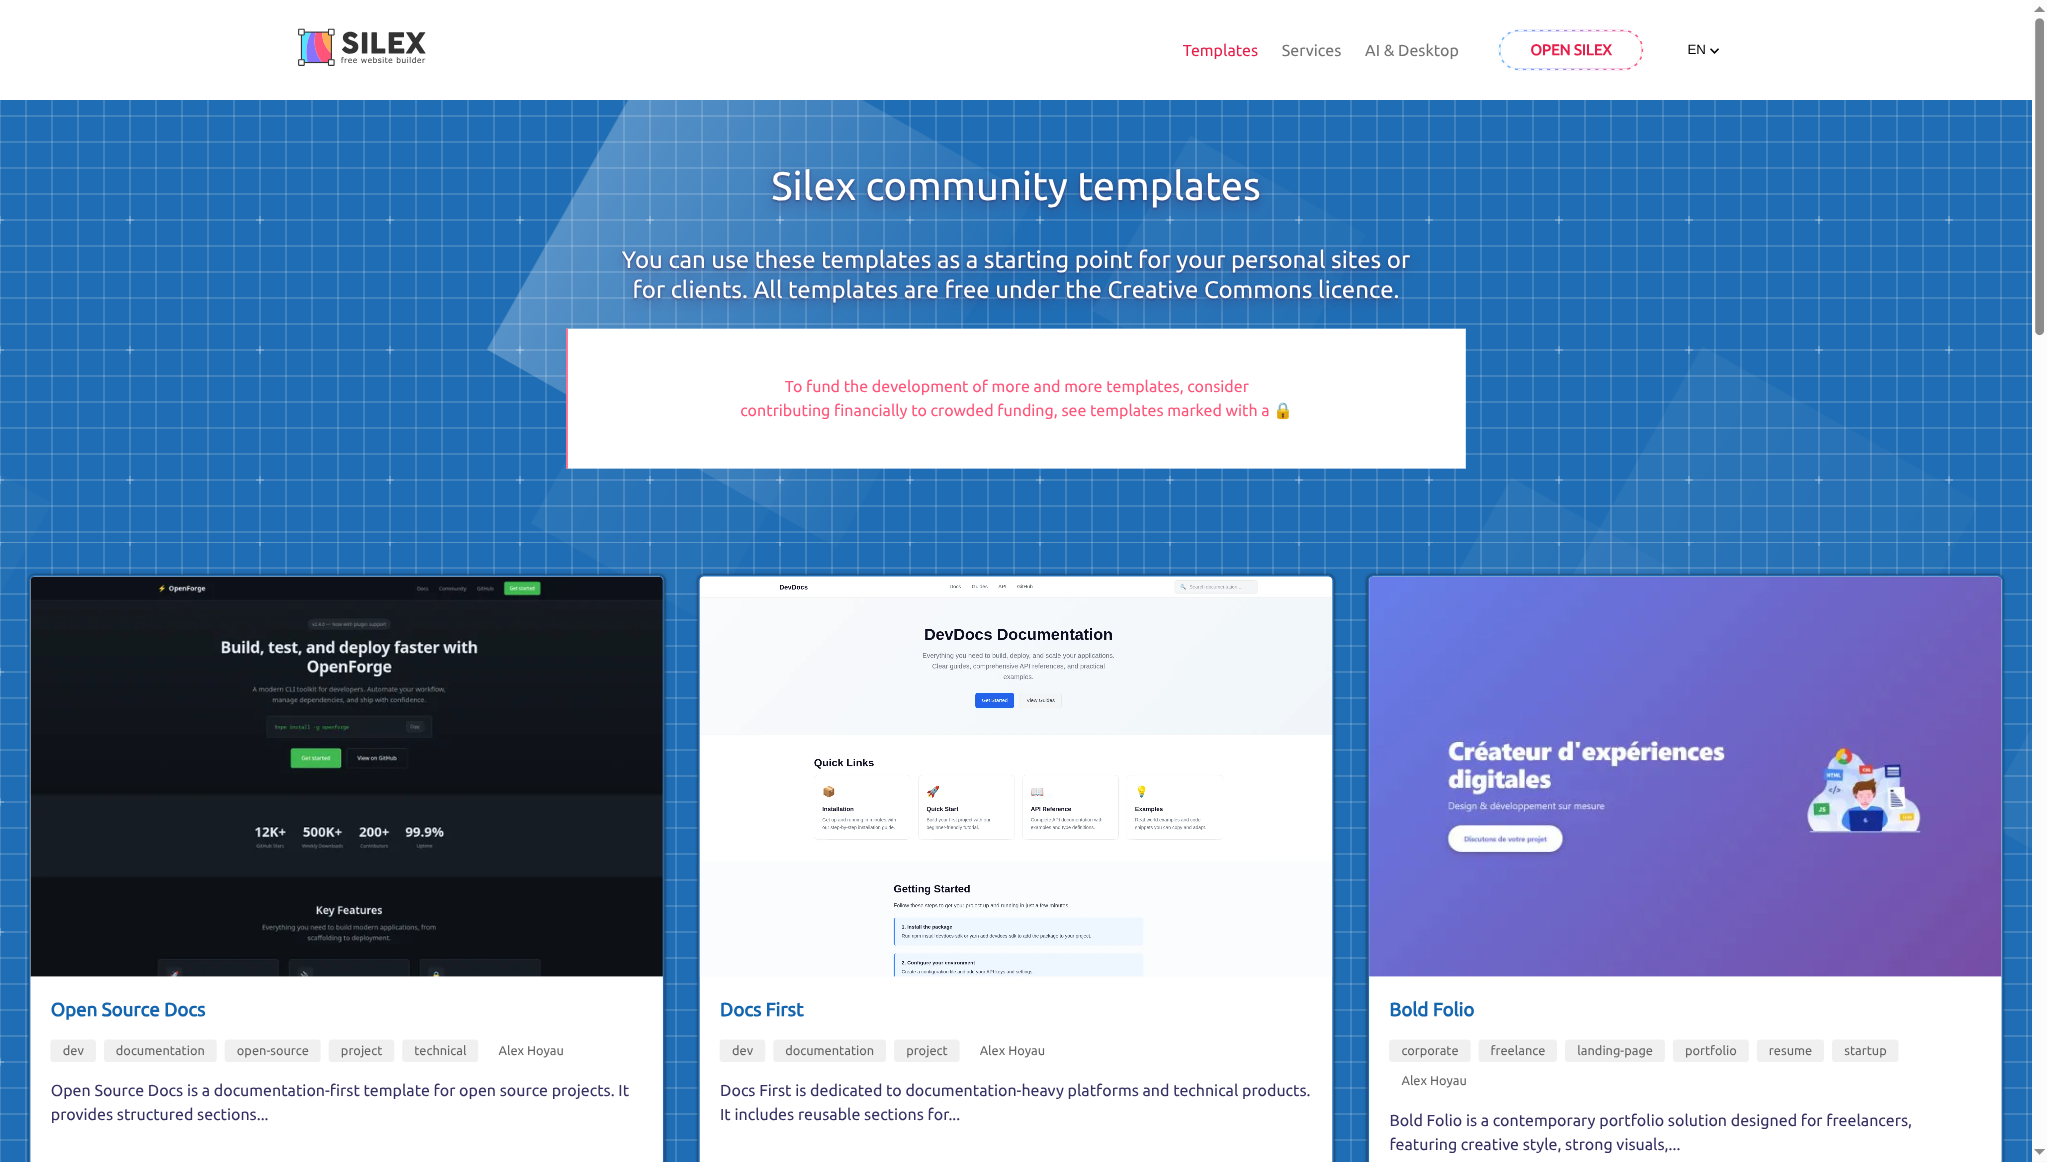
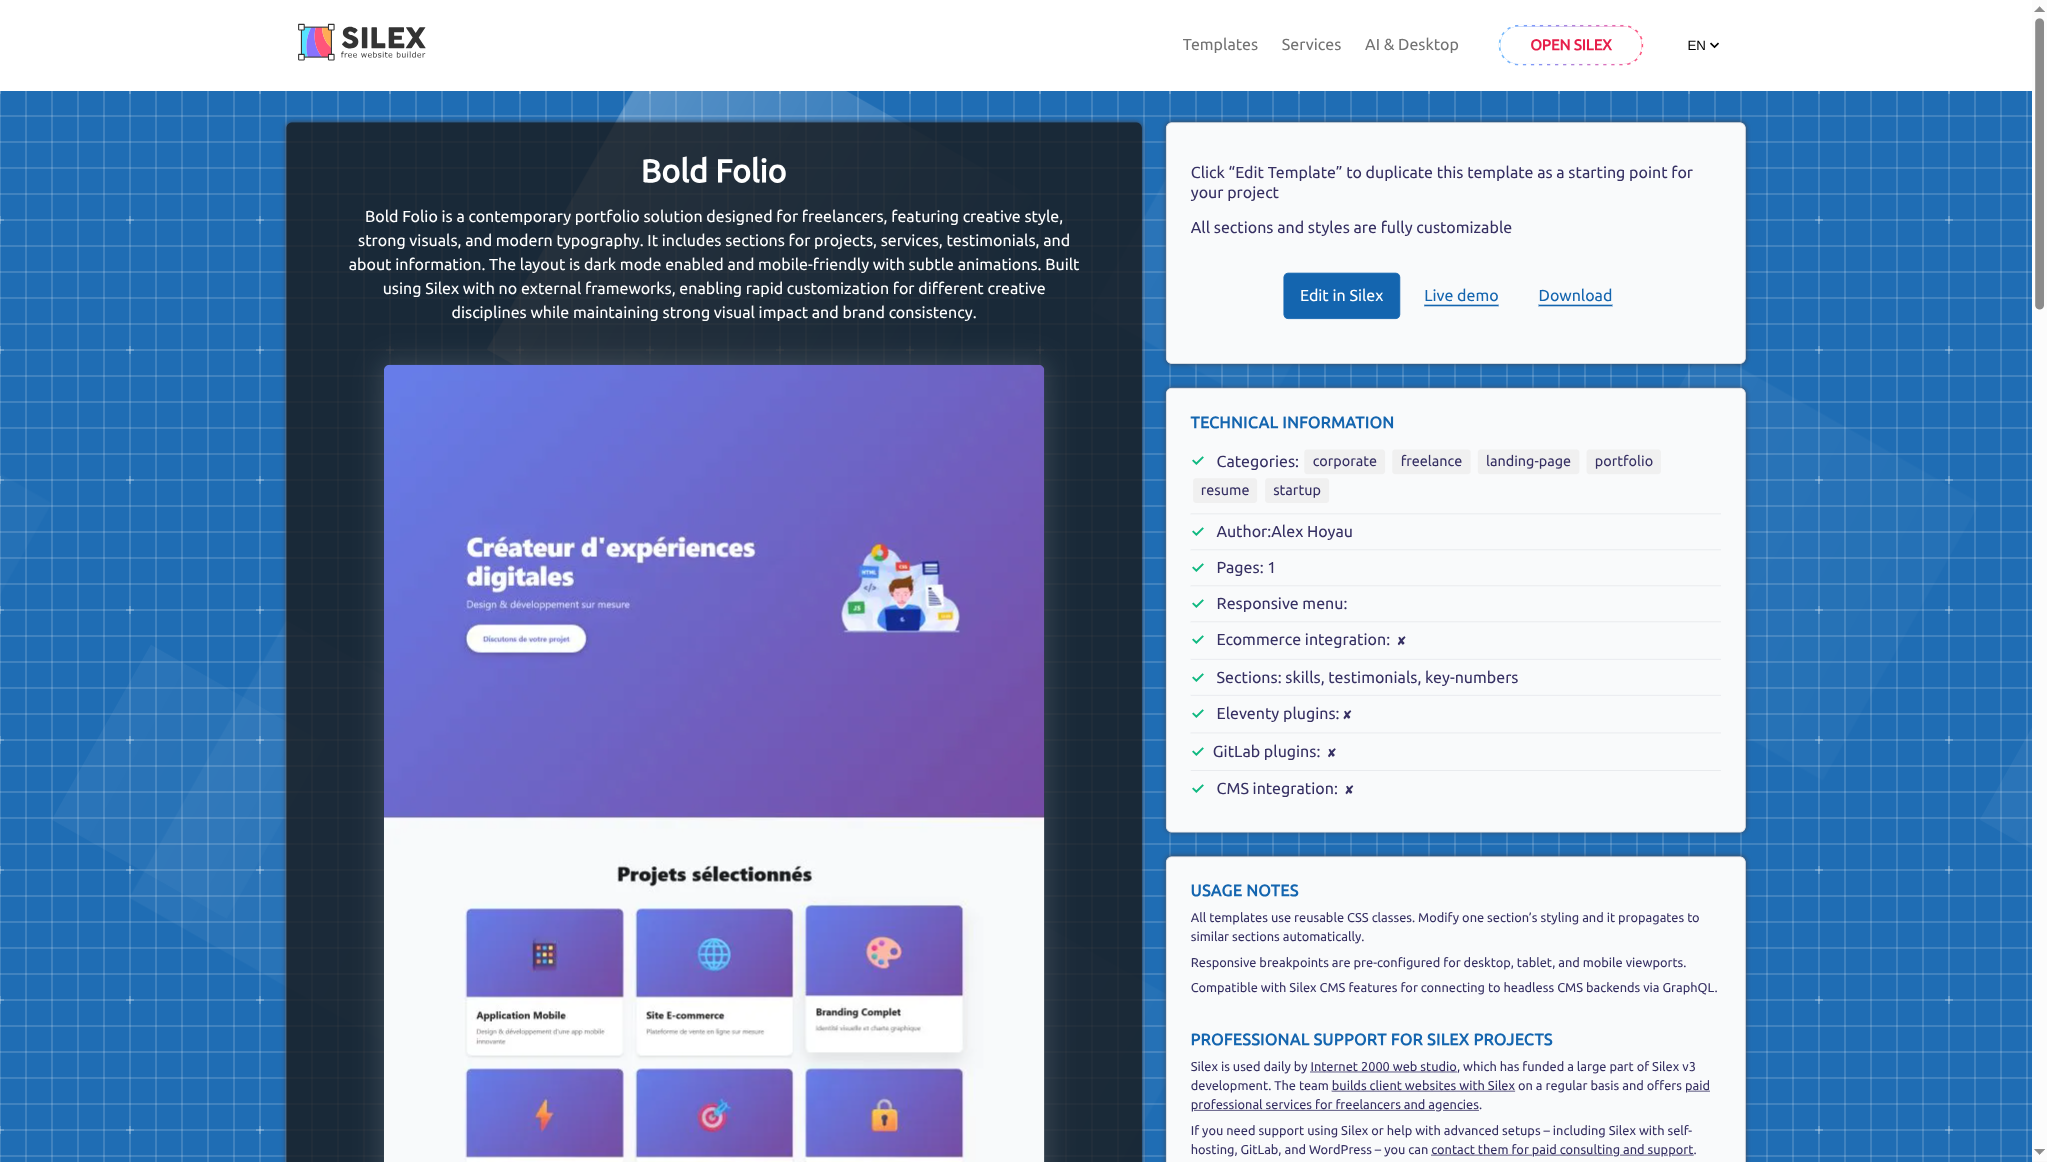
Click a template to see its details, preview, and technical information. Click Edit in Silex to start editing immediately — Silex forks the template into your GitLab account and opens it in the editor. The site name is generated automatically (you can change it later from the dashboard, with the Rename icon of the site).
Have an existing HTML/CSS project? Vote for Import Existing Project on the roadmap to import projects directly into Silex.
Step 3: Build your first page
The editor shows three areas:
- Left sidebar: Panels for blocks, pages, layers, symbols, fonts, CSS variables, and settings
- Canvas (center): Where you design visually
- Right panel: Style Manager (CSS properties) and selector controls
Add a heading
In the left sidebar, click Blocks (the + icon, or press Shift+A). Under Basics, drag a Text block onto the canvas. Double-click it and type "Welcome to my site". Then open the Element settings (gear icon at the top of the right panel) and change the Tag name dropdown from DIV to H1.
Add some text
Drag another Text block below the heading. Double-click and type a short description.
Add an image
Under Media in the Blocks panel, drag an Image block below the text. Double-click it to open the asset manager and upload a photo.
Arrange them vertically
By default, blocks stack vertically. To adjust spacing, select an element, switch the right panel back to the styles (paintbrush icon) and open the Size section to set Margin and Padding.
Step 4: Add a little style
Style the heading
Click the heading on the canvas. In the right panel, open the Typography section. Change Color to a color you like. Increase Font size to make it larger.
Add a background color
Click the empty space on the canvas (the Body element). In the right panel, open Backgrounds & Borders and set a Background color.
Center the content
Click the empty space on the canvas to select the Body, and in the Layout section set:
- Display: Flex
A Flexbox section then appears — set:
- Flex direction: column
- Justify content: center
- Align items: center
Your content is now centered.
Step 5: Publish
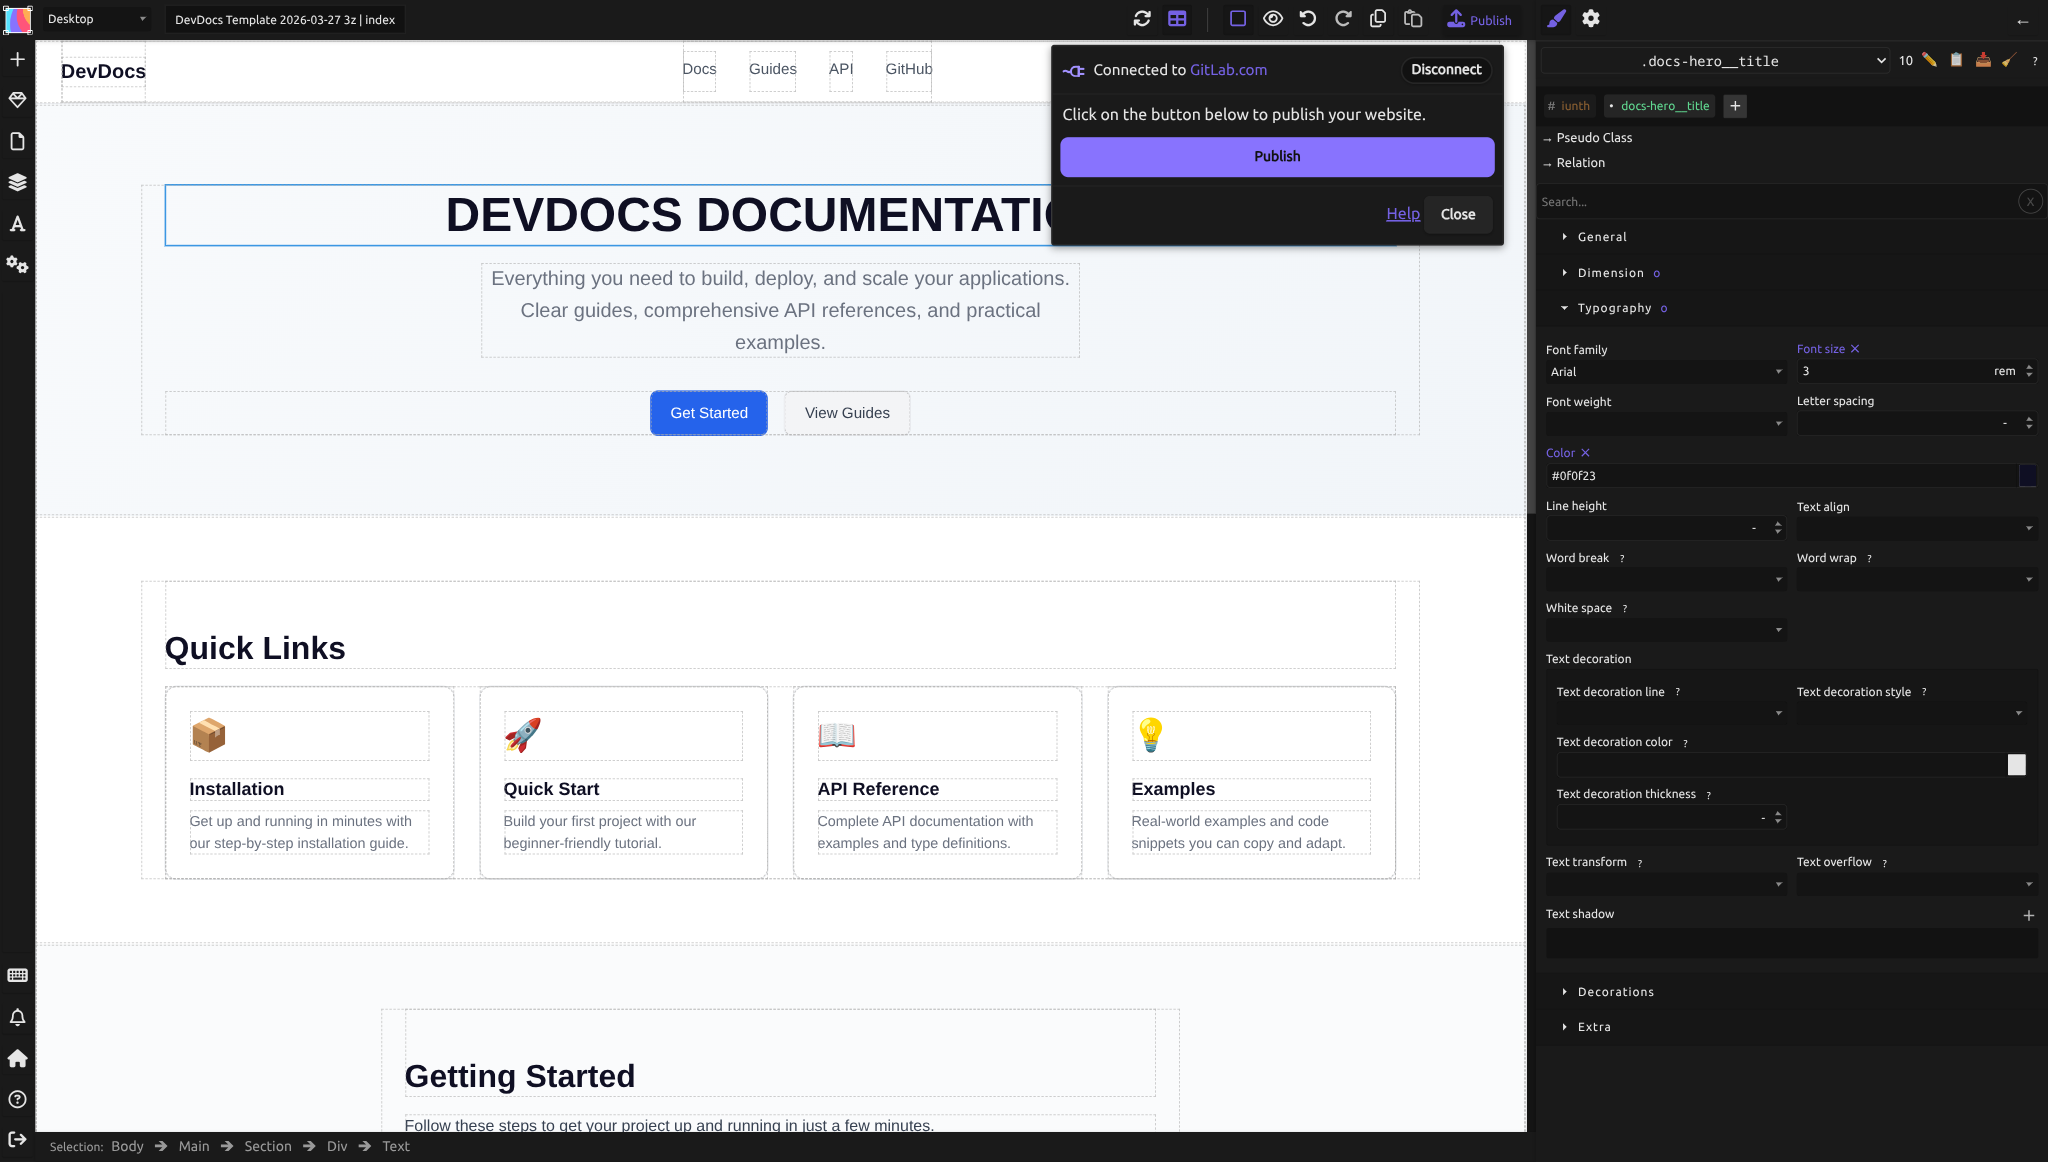
Click the Publish button in the top toolbar (or press Alt+P).
A dialog opens showing "Connected to GitLab.com" with a Publish button. Click it.
Silex now:
- Transforms your design into HTML and CSS
- Commits it to your GitLab repository
- Triggers a build awesome (powered by Eleventy) build via GitLab CI
- Deploys to GitLab Pages
In about 1-2 minutes, your website is live at a URL like https://your-username.gitlab.io/your-site-slug/.
Step 6 (optional): Use your own domain
Your site is live on a GitLab Pages subdomain. To use a custom domain (like mysite.com), see the Custom domain guide.
Next steps
Congratulations — you've published your first site!
From here:
- Learn the editor: Read The Editor to understand all the panels and tools.
- Design responsive layouts: Check Flexbox to arrange elements for all screen sizes.
- Connect real data: See CMS and Data to pull content from WordPress or another service.
- Build a full site: Follow the Full-site tutorial to create a multi-page agency portfolio.
- Stuck? Ask in the community chat — someone will help.
Quiz
Q1: What do you need to publish a Silex website?
- A) A custom server and domain
- B) A GitLab account to host on GitLab Pages
- C) A Webflow account to integrate
Answer
B) A GitLab account to host on GitLab Pages — GitLab provides free static site hosting. You can also publish to FTP or your own server.
Q2: What happens when you click Publish?
- A) Silex saves your design locally in the browser
- B) Silex transforms your design to HTML/CSS and uploads it to GitLab Pages
- C) You have to manually export and upload files
Answer
B) Silex transforms your design to HTML/CSS and uploads it to GitLab Pages — Publishing is automatic and handles all the build steps.
Q3: How do you center content on your page?
- A) Use the alignment tools in the Style Manager (Display: Flex, Justify-content: center)
- B) Use CSS Grid
- C) Silex does it automatically
Answer
A) Use the alignment tools in the Style Manager — Set Display to Flex, Flex-direction to column, Justify-content and Align-items to center.
Q4: You want to change the heading color. Where do you go?
- A) The left sidebar (Blocks panel)
- B) The right panel (Style Manager), then find Color
- C) The top toolbar
Answer
B) The right panel (Style Manager), then find Color — All styling controls are in the right panel when you select an element.
Q5: After publishing, your site is live at what kind of URL?
- A)
https://your-domain.com(you must own the domain) - B)
https://your-username.gitlab.io/your-site-slug/(GitLab Pages default) - C)
https://v3.silex.me/your-site(always on Silex)
Answer
B) https://your-username.gitlab.io/your-site-slug/ — GitLab Pages gives you a free subdomain. You can point a custom domain to it later.